Android Integration
Follow this step by step guide to build the demo app for Ringer Interactive on Android
Requirements
1. Minimum SDK Version Supported is 9
2. You have to use Hilt (Dependency Injection) to use this SDK
How to integrate the SDK in your application
Step 1
Init SDK in your main application
token - your token when register tenantID this feild is require
app_name - your application name optional
phone_number - your phone optional
InitializeToken(this, token, app_name, phone_number)
Step 2
If you are already using Firebase then you can use the following code. Add the function below in the FirebaseMessagingService R.color.bg_color background notification color R.mipmap.ic_launcher notification icon R.string.app_name noitficaiton title
        try {
            LibrarySDKMessagingService().sendNotification(this,remoteMessage,R.color.bg_color, R.mipmap.ic_launcher,R.string.app_name)
        } catch (e: Exception) {
            e.printStackTrace()
        }
Step 3
Now add the following line to your project level build
    allprojects {

        repositories {
            ...
            maven { url 'https://jitpack.io' }
        }
         }
Step 4
If you are not using Firebase, please use the following code.
implementation ('com.github.RingerInteractive:Ringer-SDK-Android:1.x.x'){
        transitive = true
        // Use the consuming application's FireBase module, so exclude it
        // from the dependency. (not totally necessary if you use compileOnly
        // when declaring the dependency in the library project).
        exclude group: 'com.google.firebase'
        // Exclude the "plain java" json module to fix build warnings.
        exclude group: 'org.json', module: 'json'
    }
    implementation("com.google.firebase:firebase-messaging:22.0.0") {
        // Exclude the "plain java" json module to fix build warnings.
        exclude group: 'org.json', module: 'json'
    }
Step 4.1
In the Manifest File add the following code. To continue to get notified
    <uses-permission android:name="android.permission.READ_CONTACTS"/>
    <uses-permission android:name="android.permission.WRITE_CONTACTS"/>

        <service
            android:name="com.ringer.interactive.firebase.LibrarySDKMessagingService"
            android:exported="true">
            <intent-filter>
                <action android:name="com.google.firebase.MESSAGING_EVENT" />
            </intent-filter>
        </service>
Step 4.2
Add username and password in a string.xml file in your project
<string name="ringer_user_name">Your Registered Email Address</string>
<string name="ringer_password">Your Password</string>
After adding these credentials you will have access to the SDK.
Step 4.3
In your MainActivity, call the following function to continue. This is required to use the SDK.
InitializeToken(this,resources.getString(R.string.ringer_user_name),resources.getString(R.string.ringer_password),"YOUR APP NAME","Your Number")
Step 4.4
Final Step to Complete the SDK Setup This step is for the permissions you need granted.
    override fun onRequestPermissionsResult(
        requestCode: Int, permissions: Array<out String>,
        grantResults: IntArray
    ) {
        super.onRequestPermissionsResult(requestCode, permissions, grantResults)

        RingerInteractive().onRequestPermissionsResult(requestCode, permissions, grantResults,this)

    }
How to use sample app
1.Download the latest Releases and install on your device
2.Build APK from Ringer-Sample-App
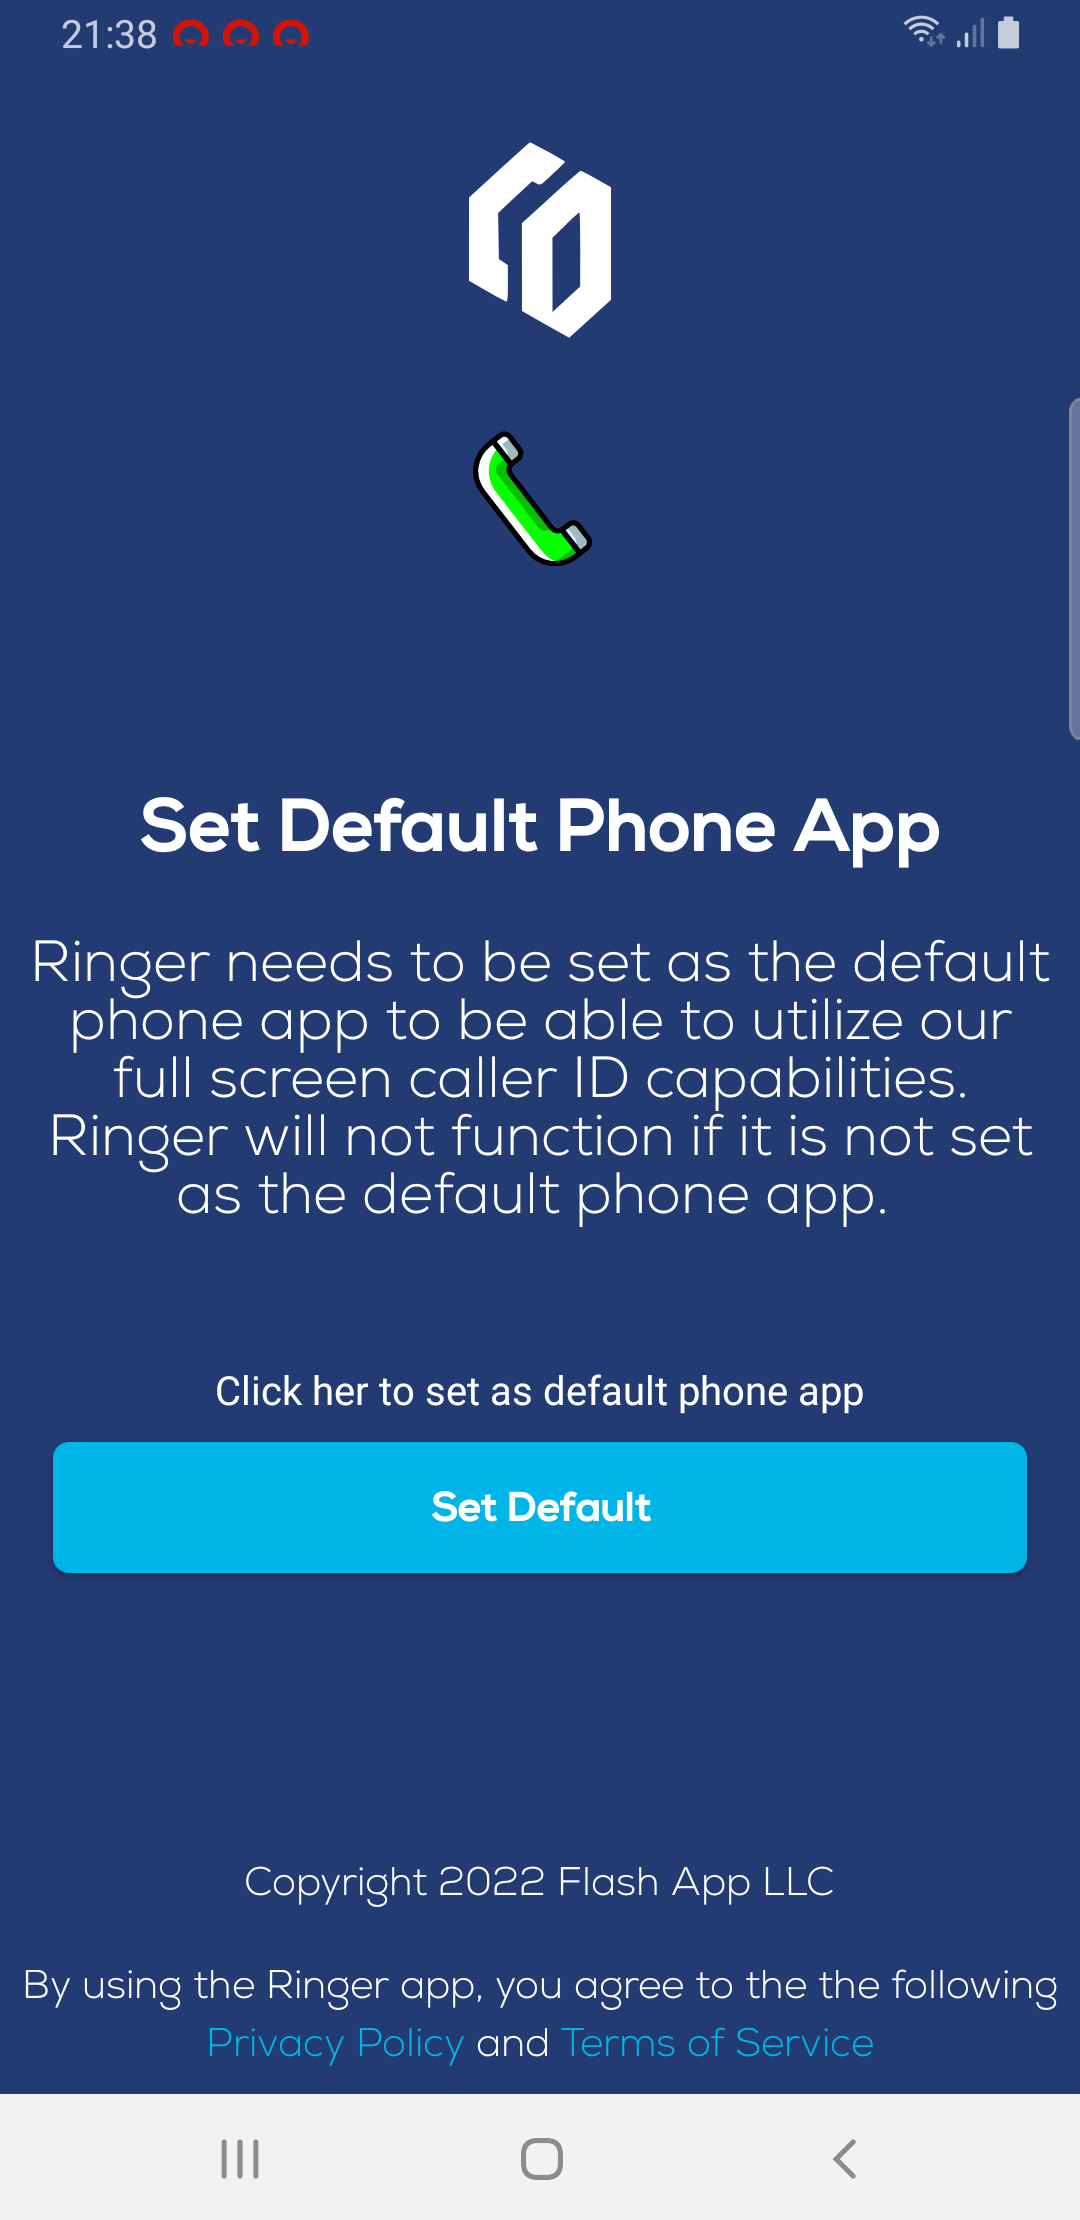
After install you should grant the required permissions
- Default call handler
offerReplacingDefaultDialer(this, applicationContext.packageName, REQUEST_CODE_SDK)
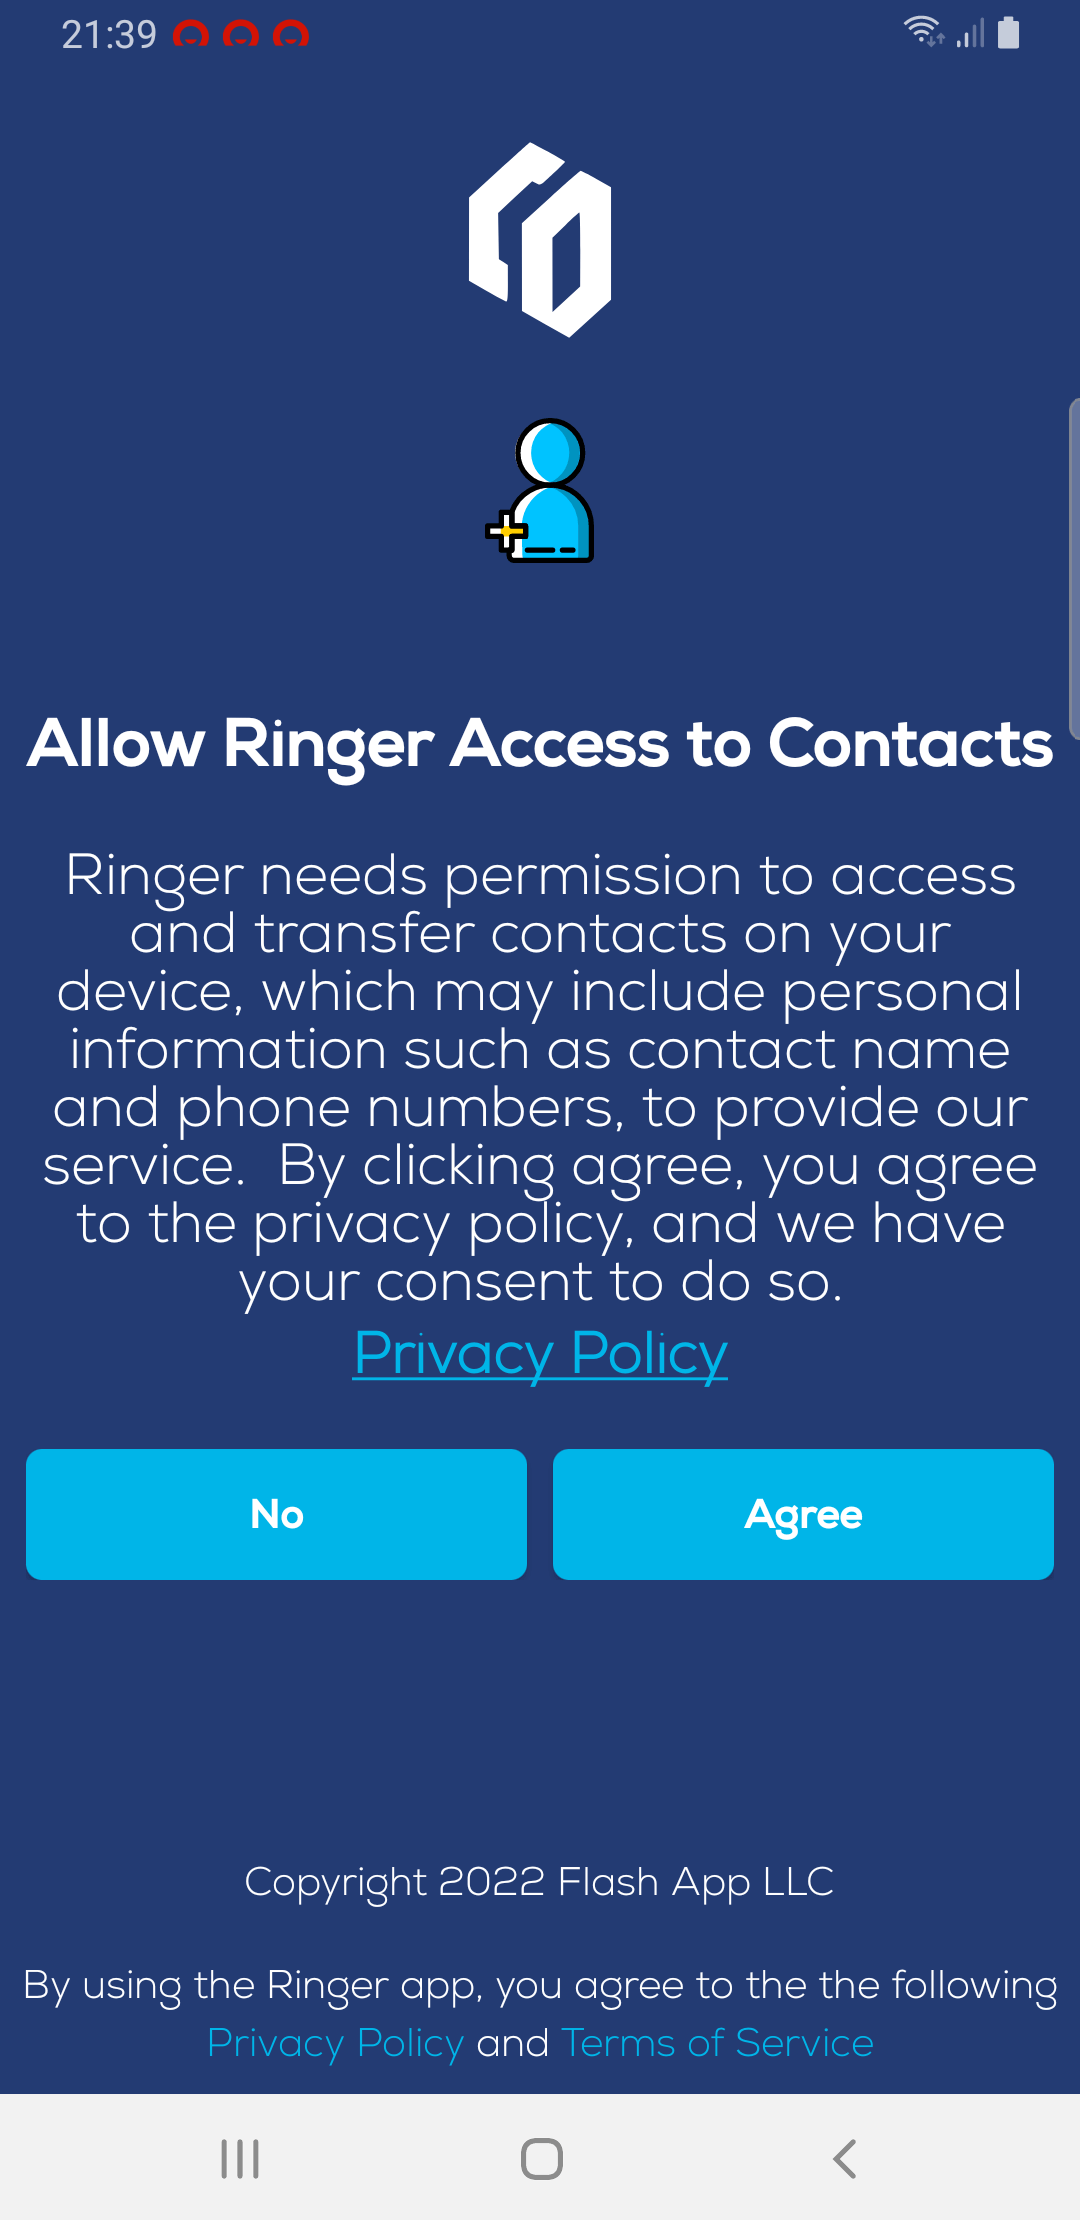
 2. Access Contact
ActivityCompat.requestPermissions(this, arrayOf(Manifest.permission.READ_CONTACTS, Manifest.permission.WRITE_CONTACTS), PERMISSIONS_REQUEST_READ_CONTACTS)
 3. Appear On Top
ActivityCompat.requestPermissions(this,arrayOf(Manifest.permission.SYSTEM_ALERT_WINDOW),PERMISSIONS_REQUEST_CALL_LOG)

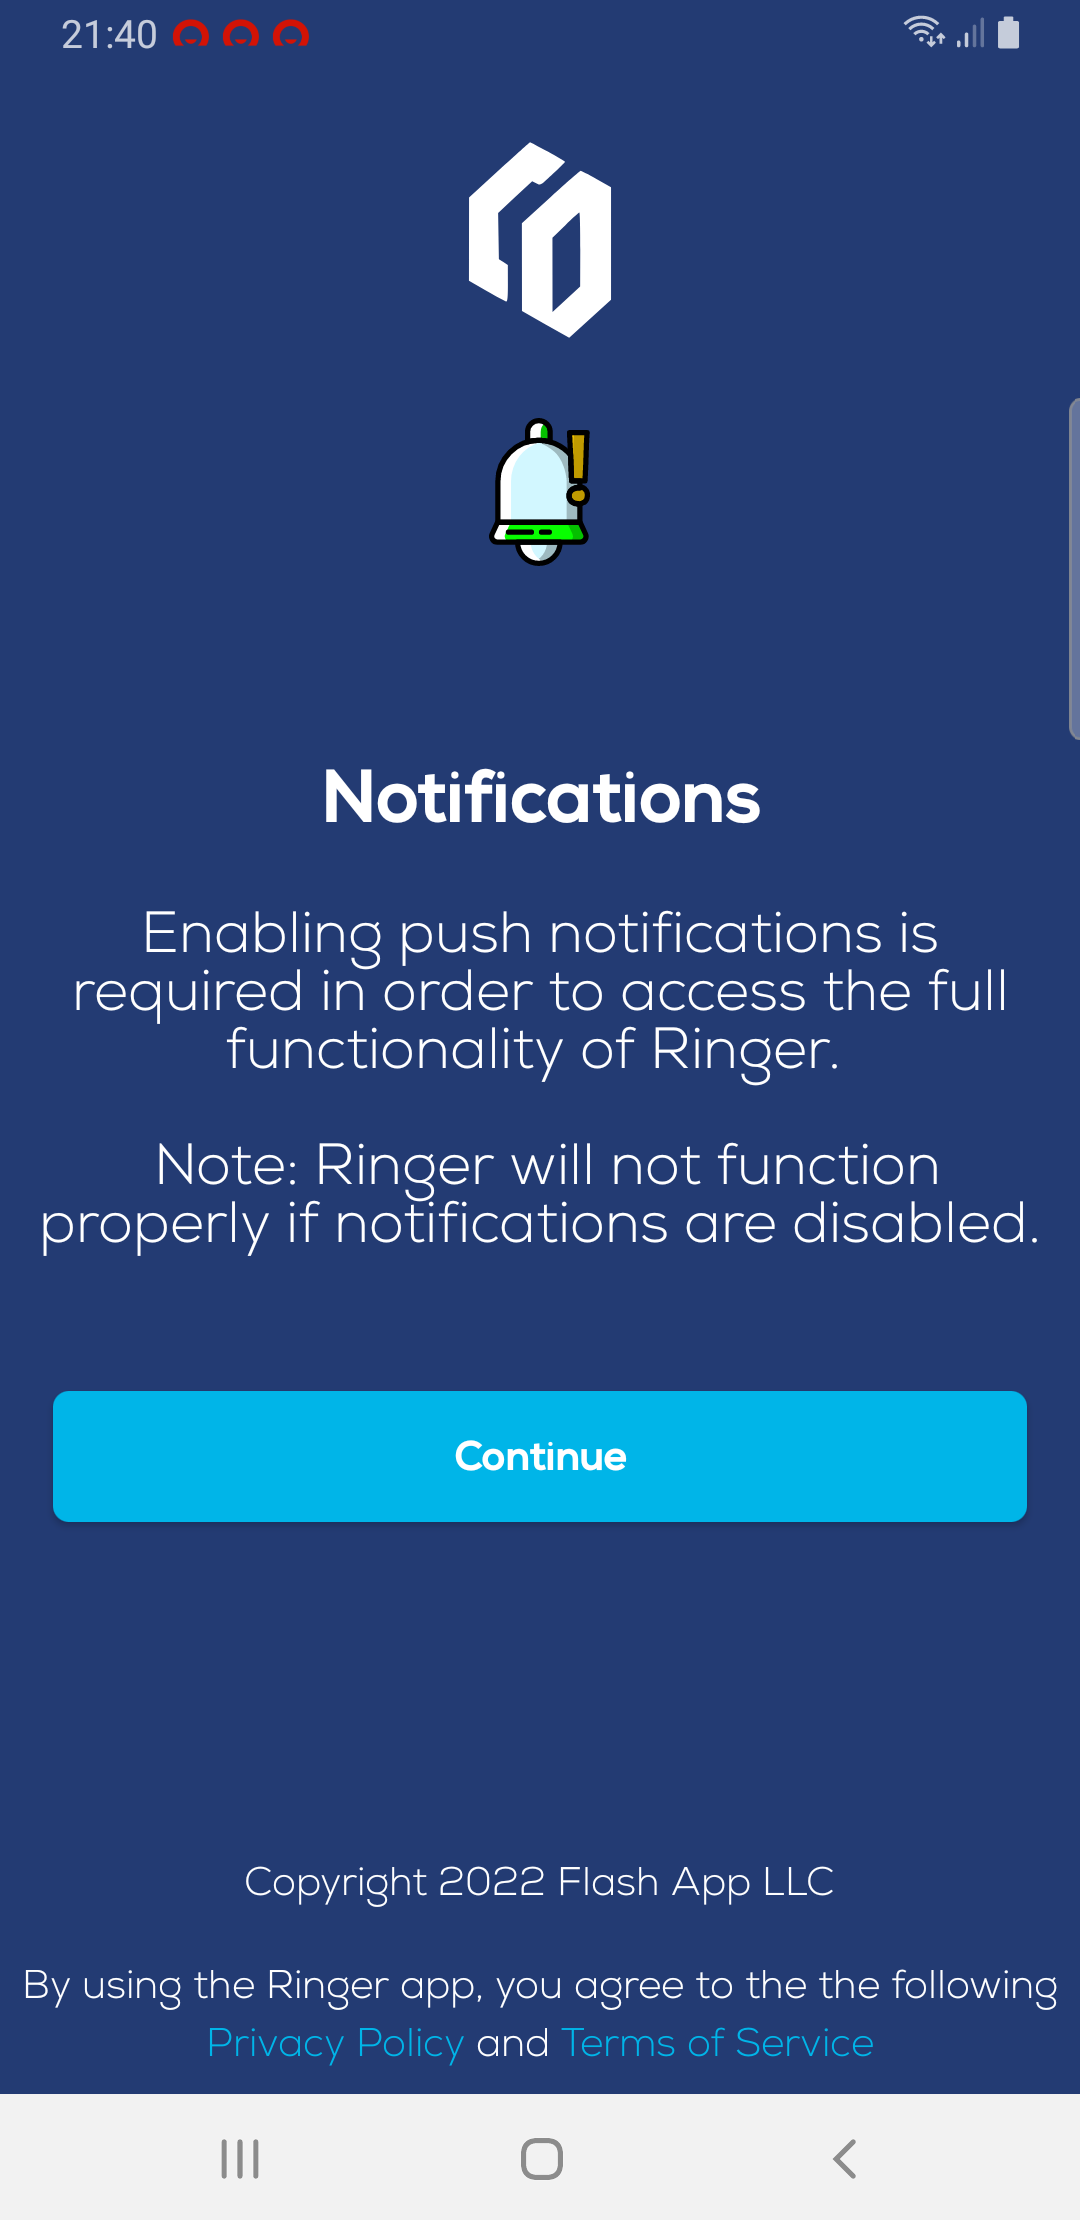
Allow app notification
Main Screen
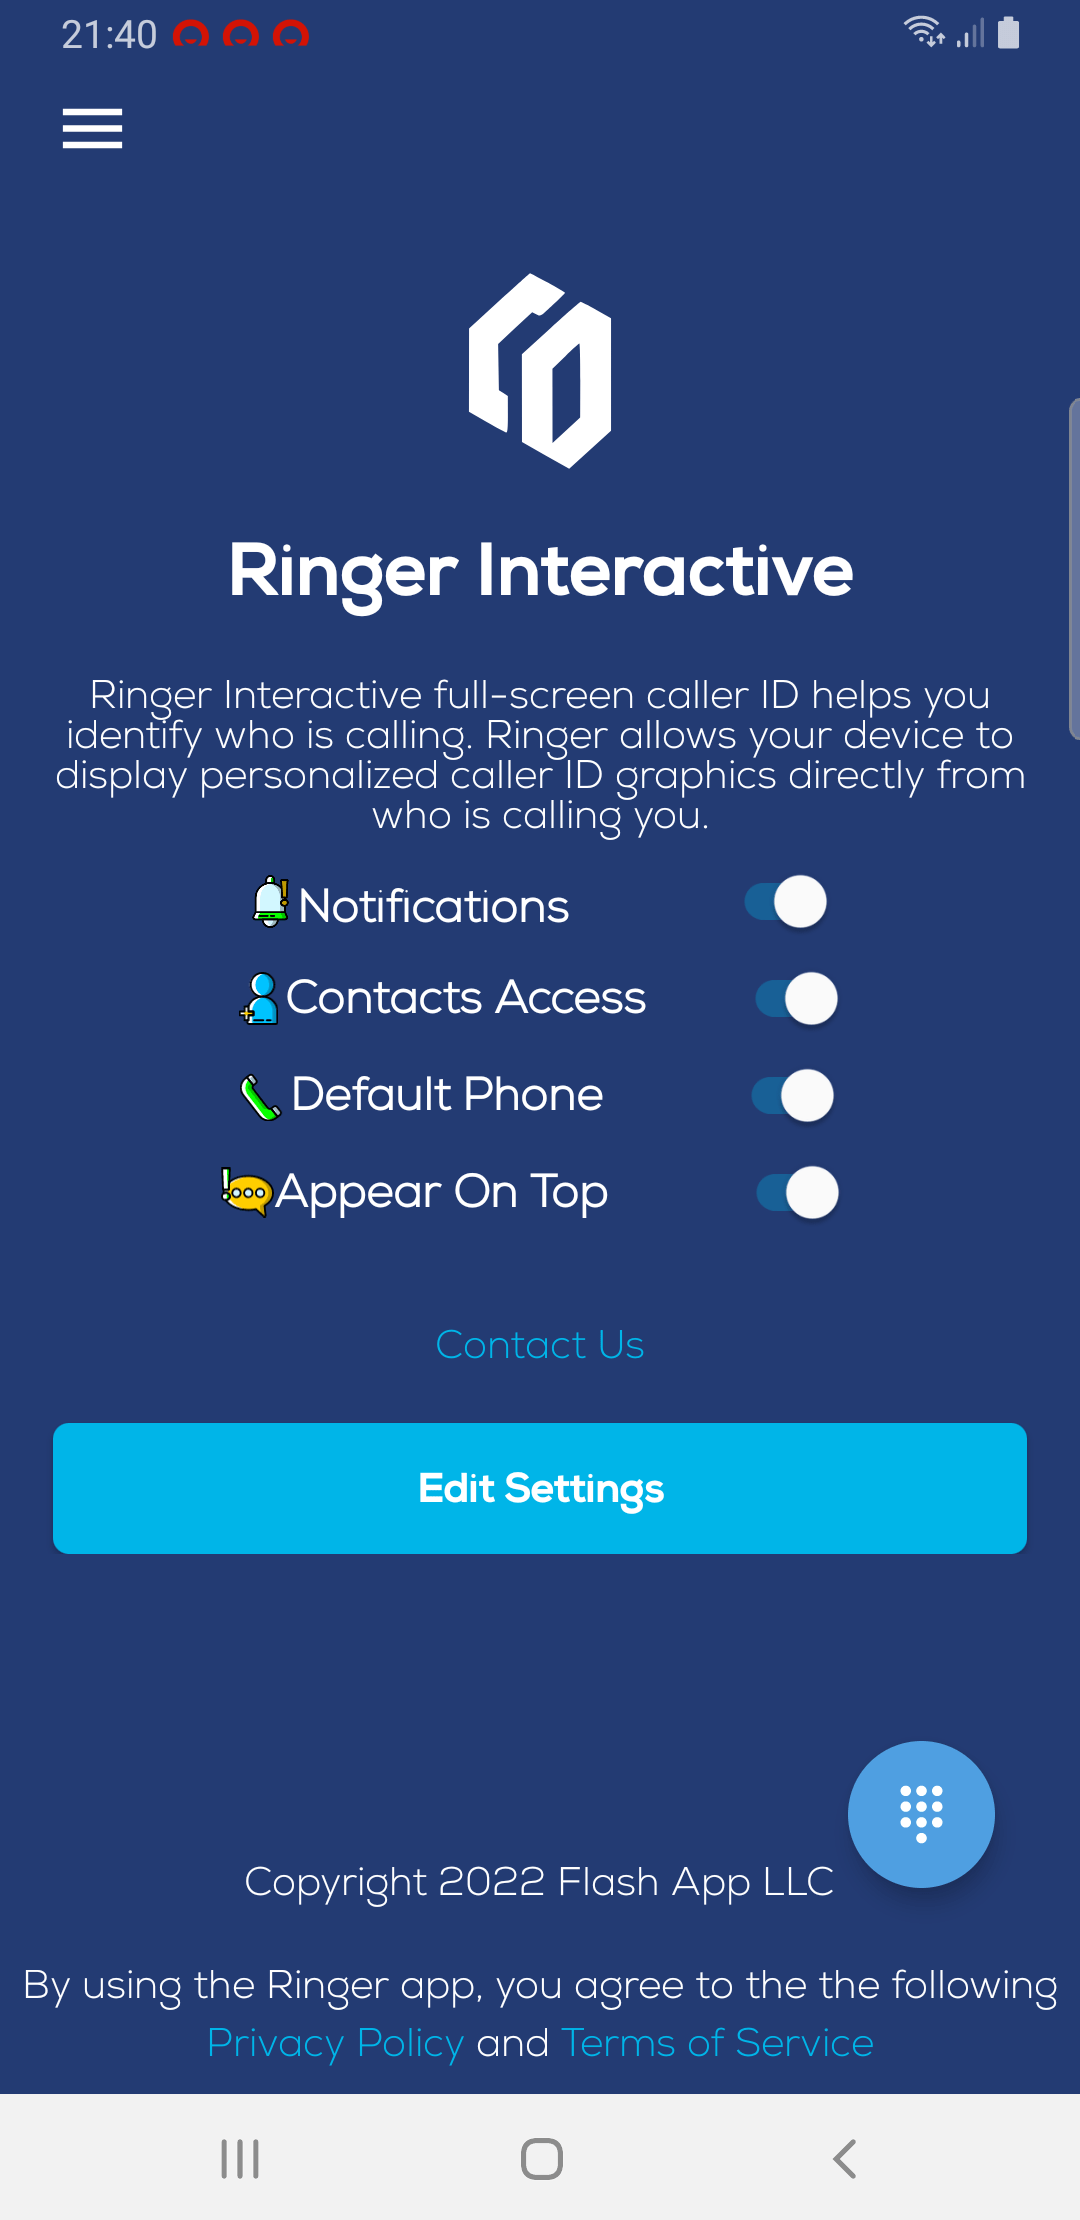
Open the Ringer Interactive Admin portal with your provided account information and make a phone call to test